How to Self-Host on a $5 VPS: A Step-by-Step 2026 Guide
Self-host on a $5 VPS from zero: pick a provider, lock the server down, install Docker, and get your first service online with HTTPS in about an hour.
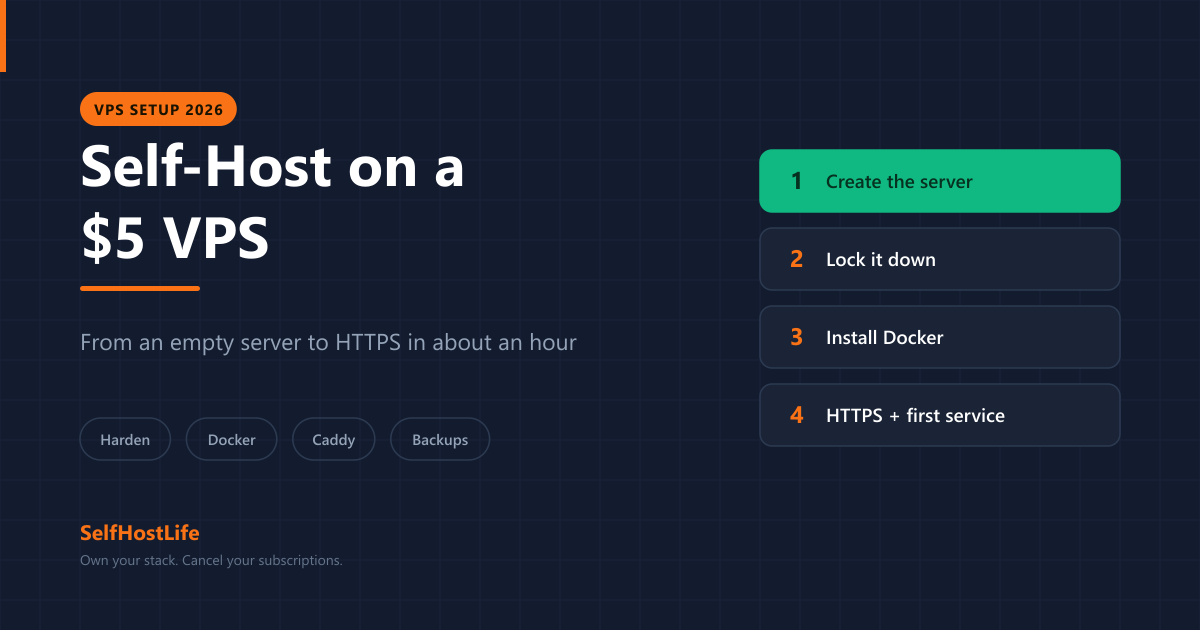
⚡ The short version
A VPS in the $4–7/month band is the cheapest honest way to start self-hosting: no hardware to buy, a real public IP, and enough headroom for a password manager, a reverse proxy, and a handful of small services. The whole setup is four commands' worth of hardening, then Docker, then your first service behind HTTPS. Budget about an hour. What a cheap VPS will not do is store your photo library or transcode video — that is what hardware at home is for.
Renting a server is the least intimidating way into self-hosting, and the part people get wrong is not the technical setup — it is what they expect the machine to do. This guide walks through how to self-host on a $5 VPS from an empty server to a working service on your own domain, and it is honest about the ceiling: some of the most popular self-hosted apps do not belong on a budget plan at all.
If you have not decided who to rent from yet, read the Hetzner vs Contabo vs Vultr comparison first — it covers pricing and performance in detail. This guide picks up the moment you have a server and a root password in your inbox.
What a cheap VPS actually gets you
At the budget end of the market, a plan in this price band generally means something like 2 shared vCPUs, 4GB of RAM, 40GB of NVMe storage, and several terabytes of monthly traffic. The exact numbers move around and providers reshuffle their lineups more often than you would expect — Hetzner, for instance, has already retired the CX22 plan that older guides reference in favour of a CX23 tier. Check the current spec sheet rather than trusting any article’s table, this one included.
The number that actually constrains you is disk, not CPU. 40GB sounds like plenty until you realise the operating system and Docker images take 8–10GB before you have stored anything. Two vCPUs will run a dozen small services without complaint. Forty gigabytes will not hold a photo library, a media collection, or more than a token amount of file sync.
So the honest split looks like this:
✅ Runs well on a $5 VPS
- Password manager (Vaultwarden)
- Reverse proxy and HTTPS termination
- DNS ad-blocking for devices away from home
- Git hosting, bookmark managers, RSS readers
- Uptime monitoring, small dashboards
- A personal site or blog
❌ Belongs on hardware at home
- Photo libraries — storage cost per GB is brutal on a VPS
- Media servers — transcoding needs CPU and disk you are not paying for
- Large file sync — same disk problem
- Anything where you want the data physically in your house
- Surveillance recording
If your goal is the second column, stop here and read what you can actually run on a Raspberry Pi or the mini PC round-up instead. Renting storage is the most expensive way to buy it.
Before you start
Three things, none of which cost more than a few minutes:
- An SSH client. Built into macOS, Linux, and Windows 10 or later — open a terminal and type
ssh. If it responds, you have it. - A domain name. Not strictly required to log in, but required for HTTPS certificates, and you should not put anything with a password on the public internet without them. See connecting a domain to your self-hosted server.
- A password manager, because you are about to generate credentials you should not be inventing yourself.
Step 1: Create the server
Pick the cheapest plan the provider offers with at least 2GB of RAM, choose the datacentre nearest to you, and select Ubuntu 24.04 LTS as the image. Long-term support matters here: it means security updates without you having to do a distribution upgrade for years.
Every provider offers to add your SSH public key during creation. Do that now rather than later — it saves a step and means the server never has a working password login. If you do not have a key yet, generate one on your own machine first:
ssh-keygen -t ed25519 -C "your-email@example.com"Press enter to accept the default location. Set a passphrase. The public half is now in ~/.ssh/id_ed25519.pub — paste its contents into the provider’s SSH key field.
Once the server boots, log in:
ssh root@YOUR_SERVER_IPStep 2: Lock it down before anything else
This is the step people skip, and it is the reason budget VPS horror stories exist. A fresh server with password login enabled will start receiving automated login attempts within hours. Do this before you install anything.
Update the system and create a non-root user:
apt update && apt upgrade -y
adduser yourname
usermod -aG sudo yourname
rsync --archive --chown=yourname:yourname ~/.ssh /home/yourname
Now disable root and password logins. Open /etc/ssh/sshd_config and set:
PermitRootLogin no
PasswordAuthentication no
⚠️ Test before you disconnect. Open a second terminal and confirm ssh yourname@YOUR_SERVER_IP works before restarting the SSH service in the first one. If you get this wrong and close your only session, you are locked out and recovering means the provider's web console. Keep the first session open until the second one succeeds.
systemctl restart sshThen the firewall. Allow SSH and web traffic, deny the rest:
ufw allow OpenSSH
ufw allow 80
ufw allow 443
ufw enable
Finally, turn on automatic security updates so the machine patches itself:
apt install unattended-upgrades -y
dpkg-reconfigure --priority=low unattended-upgrades
Four commands’ worth of work, and the server goes from “will be probed continuously” to “unremarkable.” For the fuller version of this, including SSH key management across multiple machines, see the guide on private access with Tailscale — it lets you keep services off the public internet entirely.
Step 3: Install Docker
Everything so far was done as root. Disconnect and come back as the user you created — the rest of this guide assumes you are that user, and it matters in a moment:
exit
ssh yourname@YOUR_SERVER_IP
Nearly every self-hosted application ships as a container, and running them any other way on a small server is a false economy. Docker publishes an official install script:
curl -fsSL https://get.docker.com | sh
sudo usermod -aG docker $USER
That second line adds the account you are logged in as to the docker group. Run it while still logged in as root and root gets the access, your own account does not, and every later command fails with a permission error. Check with whoami if you are unsure. Then log out and back in once more for the group change to take effect. Piping a script from the internet into a shell is worth understanding before you do it — read it first with curl -fsSL https://get.docker.com | less if you want to see what it does. It is Docker’s own script, and it adds Docker’s official APT repository rather than doing anything exotic. Installing it is the easy half; compose files, volumes and published ports are the parts worth understanding before you run a stack of your own.
Give the server some swap while you are here. A 4GB machine running several containers will occasionally want more, and swap turns “the container got killed” into “that request was slow”:
sudo fallocate -l 2G /swapfile
sudo chmod 600 /swapfile
sudo mkswap /swapfile && sudo swapon /swapfile
echo '/swapfile none swap sw 0 0' | sudo tee -a /etc/fstab
Step 4: Put a reverse proxy in front
You want one thing listening on ports 80 and 443 that routes requests to your containers by hostname and handles certificates. Caddy does this with the least configuration of any option — it requests and renews Let’s Encrypt certificates automatically, with no cron job and no manual renewal.
Create /opt/stack/docker-compose.yml:
services:
  caddy:
    image: caddy:2
    restart: unless-stopped
    ports:
      - "80:80"
      - "443:443"
    volumes:
      - ./Caddyfile:/etc/caddy/Caddyfile:ro
      - caddy_data:/data
      - caddy_config:/config

volumes:
  caddy_data:
  caddy_config:
And a Caddyfile next to it:
vault.example.com {
    reverse_proxy vaultwarden:80
}
Point an A record for that hostname at your server’s IP before you start Caddy — certificate issuance requires the DNS to already resolve.
Step 5: Deploy your first service
Vaultwarden is the right first service on a cheap VPS: it is genuinely useful, it is tiny, and it is the kind of thing you actually want reachable from anywhere. Add it to the same compose file:
  vaultwarden:
    image: vaultwarden/server:latest
    restart: unless-stopped
    environment:
      - DOMAIN=https://vault.example.com
      - SIGNUPS_ALLOWED=false
    volumes:
      - ./vw-data:/data
Bring the stack up:
cd /opt/stack && docker compose up -dSet SIGNUPS_ALLOWED=true just long enough to create your own account, then set it back to false and run docker compose up -d again. The full walkthrough, including admin tokens and client setup, is in the Vaultwarden self-hosting guide.
Notice what you did not have to do. No certificate requests, no renewal cron job, no port forwarding, no dynamic DNS. This is the part a VPS genuinely makes easier than hardware at home — a static public IP with nothing between it and the internet.
Step 6: Back it up
A server you have not tested a restore from is not backed up. This matters more on a VPS than at home, because the entire machine can vanish on a billing failure.
The short version: your data lives in the volumes under /opt/stack, so that directory plus your compose files is the whole backup. Push it somewhere that is not this server — object storage, another VPS, or a machine at home:
sudo apt install restic -y
restic -r s3:REGION.example.com/your-bucket init
restic -r s3:REGION.example.com/your-bucket backup /opt/stack
Then put it on a timer and, once, actually restore it somewhere to confirm it works. The reasoning behind the three-copies rule and how to apply it to a rented server is in the 3-2-1 backup strategy guide.
What to add next
With the proxy and Docker in place, adding a service is a compose block and a Caddyfile entry. Reasonable next steps on a budget plan:
- Pi-hole for DNS ad-blocking on devices away from home — but keep port 53 firewalled to your own devices, never open to the internet.
- A small Nextcloud instance for documents and calendars, as long as you are realistic about the 40GB ceiling.
- Git hosting, an RSS reader, a bookmark manager — all small, all comfortable here.
And the ones to keep off it: Immich and Jellyfin both want storage and CPU that a $5 plan does not have. Run those on hardware at home and use the VPS as the always-on front door.
When a $5 VPS is the wrong answer
Three cases where renting is the worse choice:
- Your data should stay in your house. A VPS is someone else’s computer with your disk on it. Encrypt what matters, or keep it local.
- You need storage more than uptime. Per gigabyte, a drive you own is dramatically cheaper. See the cloud storage cost breakdown.
- You already own idle hardware. An old laptop or a mini PC you have is free; the VPS is not. Compare against your actual electricity cost before assuming the rental wins.
The honest framing is that a cheap VPS is the best first server, not the best only server. It removes every excuse to not start, and the skills transfer directly to hardware later.
Frequently Asked Questions About Self-Hosting on a $5 VPS
Is a $5 VPS really enough to self-host?
For most people, yes. A budget VPS in the $4–7/month band typically comes with 2 vCPU and 4GB of RAM, which comfortably runs a password manager, a reverse proxy, a DNS ad-blocker, and a small file sync service at the same time. What it will not do is transcode video or store a photo library — those need disk and CPU that cheap plans do not include.
Do I need to know Linux to follow this?
You need to be comfortable typing commands you do not fully understand yet, and reading the output. That is it. Every command in this guide is copy-paste, and the parts that matter — SSH keys, the firewall, Docker Compose — are explained as you go. If a command fails, the error text is almost always the answer.
Is a VPS safe to expose to the internet?
It is safe if you do three things before anything else: log in with an SSH key instead of a password, disable password and root login, and run a firewall that only allows ports 22, 80, and 443. An unpatched server with password login will see automated break-in attempts within hours of going online. A hardened one is unremarkable.
VPS or a Raspberry Pi at home?
A VPS wins on uptime, bandwidth, and having a real public IP with no router configuration. A Pi wins on storage cost and on keeping your data physically in your house. If the thing you want to self-host is media or photos, the hardware at home is usually the better answer; if it is small always-on services you need to reach from anywhere, rent the VPS.
What happens if I outgrow the $5 plan?
You resize it. Every major provider lets you move to a larger plan in a few minutes of downtime, and the disk, IP address, and configuration come with you. Start on the cheap plan rather than over-buying — it is far easier to scale up once you know your actual usage than to guess it in advance.
Do I need a domain name?
Not to get started — you can reach services by IP address. You do need one for HTTPS certificates, which means you need one before you put anything with a login on the public internet. A domain runs about $10-11 a year at a registrar that sells at cost, and the setup is a single DNS record.
How much does this cost per year in total?
The server plus a domain. At the $4–7/month band that is roughly $50-85 a year for the VPS and about $10-11 for the domain, as of August 2026. Every service in this guide is free and open source, so there is nothing else to pay unless you add paid backup storage.
Product links on this site are plain links. We earn nothing from them — see our disclosure policy.